Showing posts with label DIY. Show all posts

Wednesday, May 22, 2013

Entry Way: New and Improved

Despite the fact that I am due with baby #3 in 6 days and should probably be laundering, cleaning, or panicking, I wanted to show you one of the DIY projects we've finished at our house.  Remember how our entry from the garage looked before?
Plain and blah, and absolutely no functionality...in steps the handyman hubby. We originally thought we would fill the space with bead board, but plank walls are everywhere now and well, we decided to jump right on that bandwagon.  We started by painting the wall white so it wouldn't show our wall color through the planks (excuse the bad lighting):
Then we built a bench, set painted white planks on the walls, and added a built in box on top for baskets.  Here it is in the middle of the project, almost done:
Here it is after the hooks and decor were added:


Does it look this clean and organized all the time?  Heck no.  I have a 4 year old and a 2 year old after all.  But they have learned pretty quickly that this is the spot to put on/take off shoes, hang their backpacks and jackets, and just unload their stuff.  It's amazing what you can do with such a small space--I had no idea it could be so functional and pretty at the same time.
Resource list:
Doormat, baskets, and white frame from Target
Shoe tray from Bed, Bath and Beyond
Blue vase from Down to Earth
Blue chair from Four Chairs Furniture
Metal mail holder from Office Max

Linking up here:

DIY Show Off
Read more at http://diyshowoff.com/buttons/#7EuPZDPD9vtVMVuS.99


Sunday, June 10, 2012

DIY Bench Seat

Remember the bench seat over our fireplace from this post?  Well my hubby finally had a weekend off to work on it.  And with the kiddos feeling better (after almost 2 weeks, eek!) I knew we could get it done.  I love productive weekends!  Here's what we did:
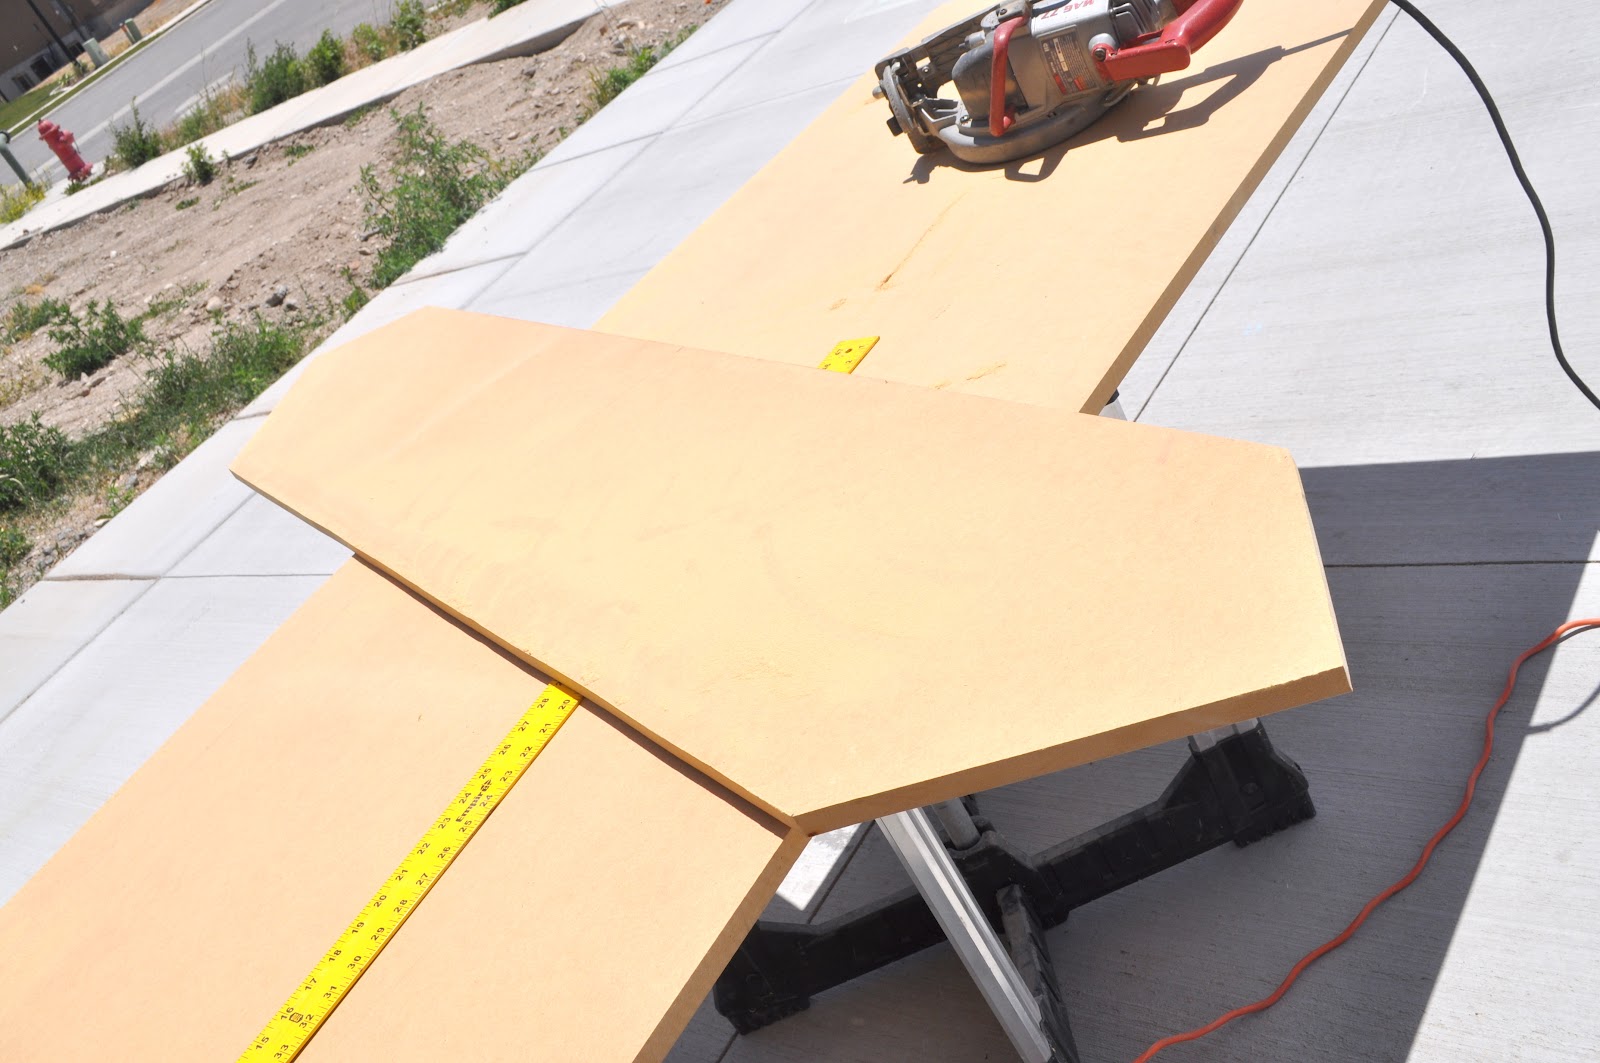
If you'll remember the seat is a very long diamond shape so we measured a few times and then drew it up on our MDF board.
Then it was time to cut.

Then we cut our 2" foam to the same size as our board and glued it down (just so it would be easier to keep in place while covering it with fabric).  Covering this thing was a lot more challenging then we had anticipated.  The corners were so difficult and I did not want it to look wrinkly and ugly (which is why I got no pictures of this part!) so it took us awhile.  After working with it and trying different folds and tucks, we used our trusty staple gun to keep in all in place.  Here's how it looked before:
 
And after!  
I love it!  Now how do I keep the kiddos from ruining it?  I got the fabric here. 

Time to start accessorizing the mantle.  

p.s. Erin commented that I should do something for myself after my kids get better.  You know, to reward myself for taking care of them. ;) So I did.  We booked our trip and I CANNOT wait.  64 days and counting!!

Friday, January 13, 2012

DIY: Kitchen Cabinet With Wrapping Paper

I am determined to get organized this year.  And not just organized, but pretty organized.  Now remember, we only moved in a month and a half ago...but this is how the cabinet above our computer desk looked:


Wow, embarrassing!  We literally were just chucking stuff in there daily, and I was not pleased with where this cabinet was headed: permanent junkville. So when I saw Jen's cabinet from TT&J and how she revamped it with wrapping paper, it gave me the jump start to dig in and clean this thing up.  The other night I won a new roll of wrapping paper at my bunko group so it was perfect!  I started by clearing the whole thing out, and then just stuck the paper up with Loctite.  I had a couple of Target gift cards leftover from Christmas so I picked up all of my baskets there.  Here's how it turned out:


Can you not hear heavenly angels singing??????  AHHH, I love it.  Even the hubs (who is not impressed by a dang thing) was like "Wow, can you do that to all of the cabinets?"  Ahem, yes I can.  And seriously go to Target right now, they have the cutest baskets.  The blue ones also come in red, green, and black.

Thanks for the inspiration Jen!  Can't wait to tackle the pantry, the linen closet, and the kids closets.

Linking up to the Tatertots and Jello link party.

Sunday, October 30, 2011

My Alder Door Makeover

It only took me a month (eesh!) but my door is finally finished.  I started with this:


First I sanded the original stain off, which I'm estimating took me 7-8 hours total.  Then using a stain called American Walnut, I stained the door, door casing, door jam, and hand railing for our stairs.  That was followed by one clear gloss coat, one coat of a glaze called Santa Fe, then 2 more clear coats.  I have to thank the guys at Jones Paint and Glass in Provo.  Not only did I walk in one minute before closing, but I had all these questions because I had no idea what I was doing.  They helped me figure everything out and were great.


Here is the end result, I'm quite pleased.  It's not perfect (and if you visit, I may ask you not to look too closely), but it's better than what we had before.


Things are still moving along with the house, however, we've had a major hiccup with kitchen cabinets.  It currently looks like this:


Yeah.  I know.  Long story short, the cabinets went in, weren't the color I thought they'd be and the cabinet guy had to get some guys to come in and paint.  Let's hope it all ends up well or I'll be majorly disappointed.

We're off to a family party today.  I made these little candy corn rice krispie treats.  They are good but on the verge of killing you with sugar overload.